Every job's photos, in one place
The office adds the job and sends it to a crew. The crew opens it on their phone, takes before and after photos, and taps Done. The photos land on the job, ready for your website and social media.
Try it yourself
The demo is a made-up fence rental company with a week of jobs. Click anything. It resets every hour, so you can't break it.
- Link
- crew.clipboardzero.com
- demo@clipboardzero.com
- Password
- ZeroPaper!
To see the crew's side, open the same link on your phone and log in, or click Field View on a computer. Today's job for Maria Lopez is already waiting. To send yourself another one, pick Casey Morgan (office) in Send to. That's you.
Open the demo →1. The office sends the job
About a minute per job.
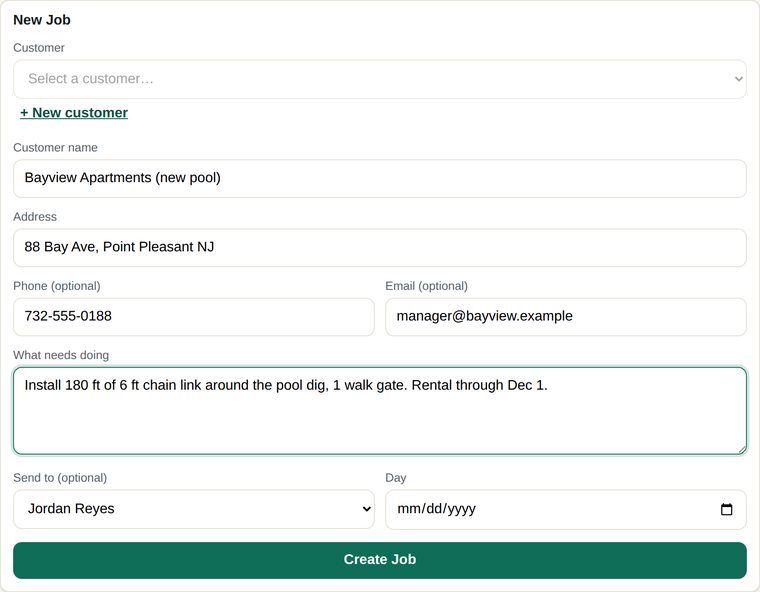
Add the customer and what needs doing
- Go to Jobs and click + New Job.
- Pick the customer, or click + New customer and type their name, address and phone. They're saved for next time.
- Under What needs doing, write it the way you'd tell the crew: "Install 180 ft of 6 ft chain link, 1 walk gate. Rental through Dec 1."
- Pick who it goes to in Send to and the day, then click Create Job.
The job shows up on that crew member's phone right away, with the address.
2. The crew takes the photos
Everything happens on their phone.
Open the job
Each crew member gets a login. They open the link on their phone and put it on the home screen so it opens like any app:
- iPhone: in Safari, tap Share, then Add to Home Screen.
- Android: in Chrome, tap the ⋮ menu, then Install app.
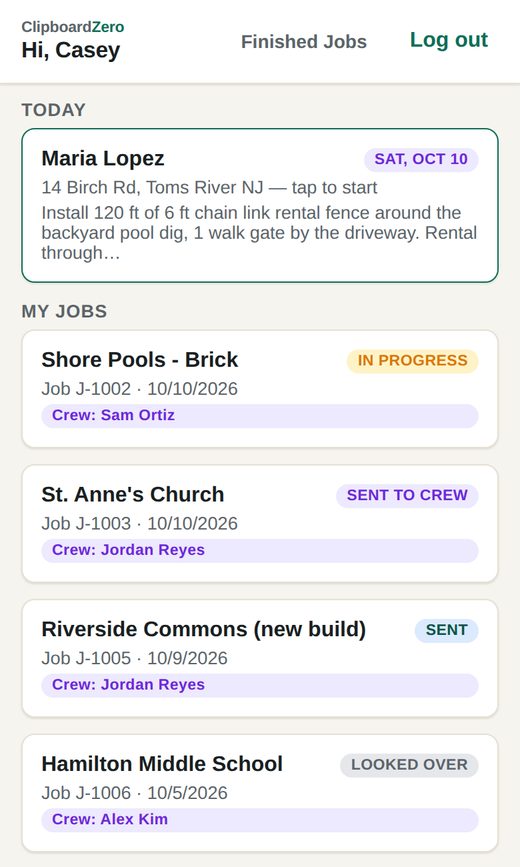
Their jobs are listed by day, with the address and what needs doing. One tap opens it, and Directions to this job opens the address in their maps app.
Before photos, after photos, Done
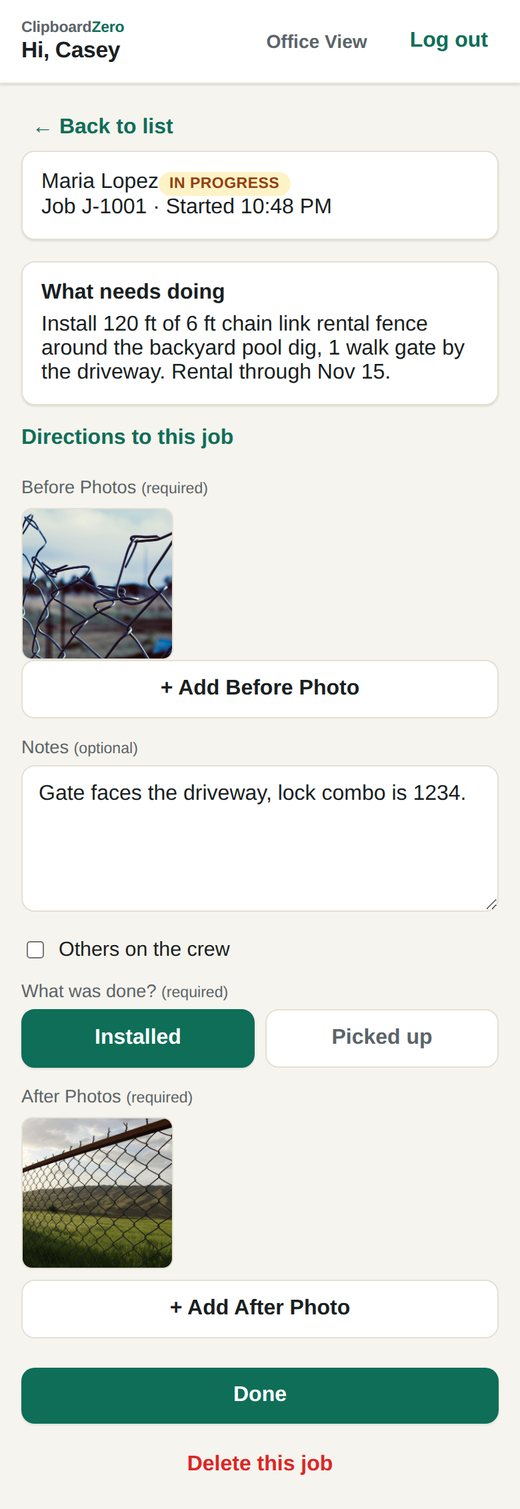
- Tap + Add Before Photo when they arrive.
- Add a note if there's something the office should know, like where the gate faces.
- When they're finished, tap Installed or Picked up and + Add After Photo.
- Tap Done. It's sent to the office.
3. The office sees it and uses the photos
Nothing to collect by text or email.
To look over
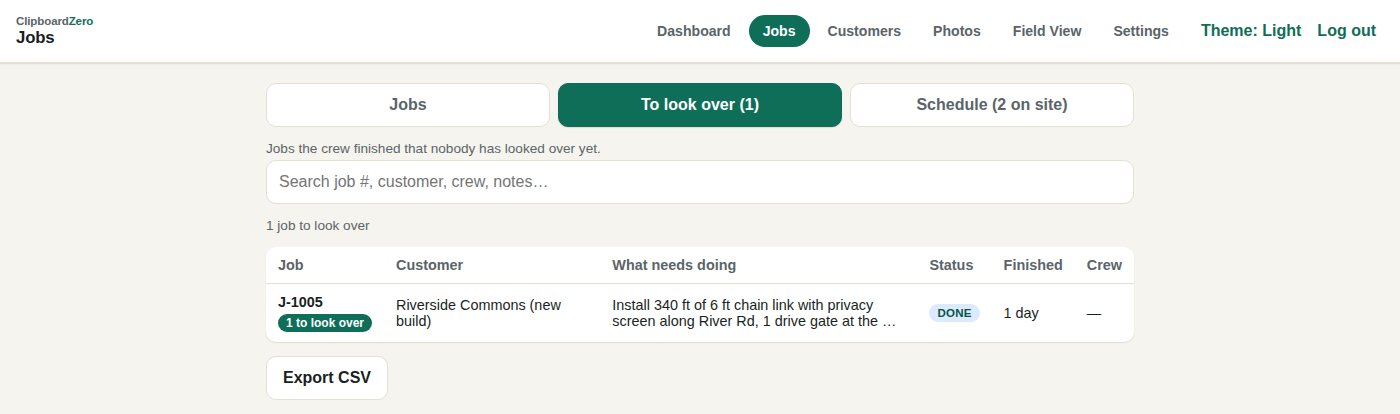
On the Jobs page, To look over lists every job the crews finished that nobody has checked yet: the customer, what needed doing, when it was finished and who did it. Click one to see the crew's note, what they marked (Installed or Picked up) and every photo. Click Looked over when you've checked it.
Photos: find the good ones
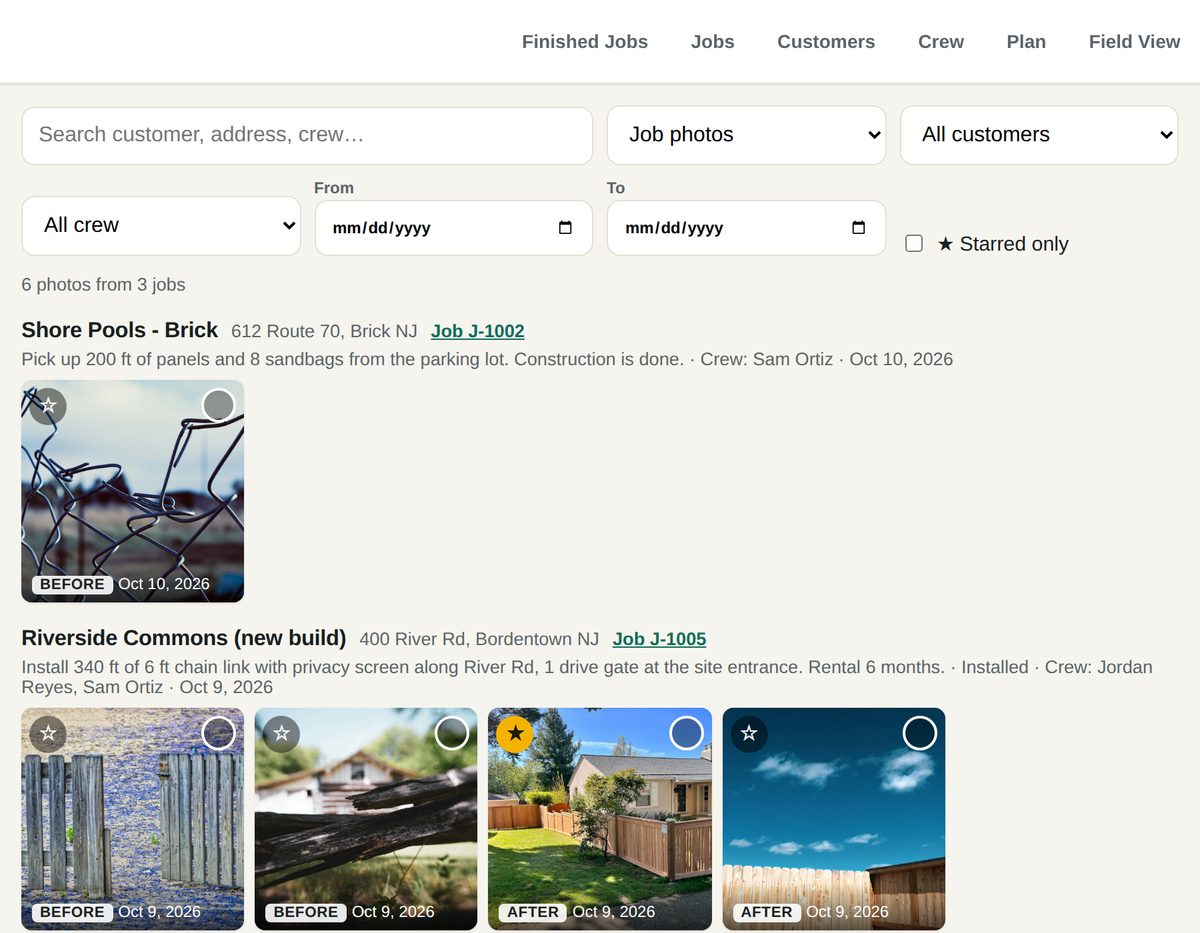
Photos shows every job's photos in one place, newest first. Filter by customer, crew member or dates, or search by address.
- Click ☆ on a photo to star it for marketing. Tick ★ Starred only to see just those.
- Click the circle on a few photos, then Download picked to save them for your website or social media.
Questions?
Email steve@clipboardzero.com. Happy to walk you through it.